Does your Craftsman garage door suddenly fail to close, and is one of the sensor lights stuck on yellow? You are not alone. Many people face this frustrating problem. The good news is that it is quite easy to diagnose and resolve. In this article, we have provided an ultimate guide on how to troubleshoot and resolve this issue step by step. Whether you are a DIY enthusiast or just want to know more about this issue, you are in the right place. We have provided all the necessary information you need to know about this topic in an informative, professional, and user-friendly manner.
Why Does the Yellow Light Appear on Your Craftsman Garage Door Sensor?
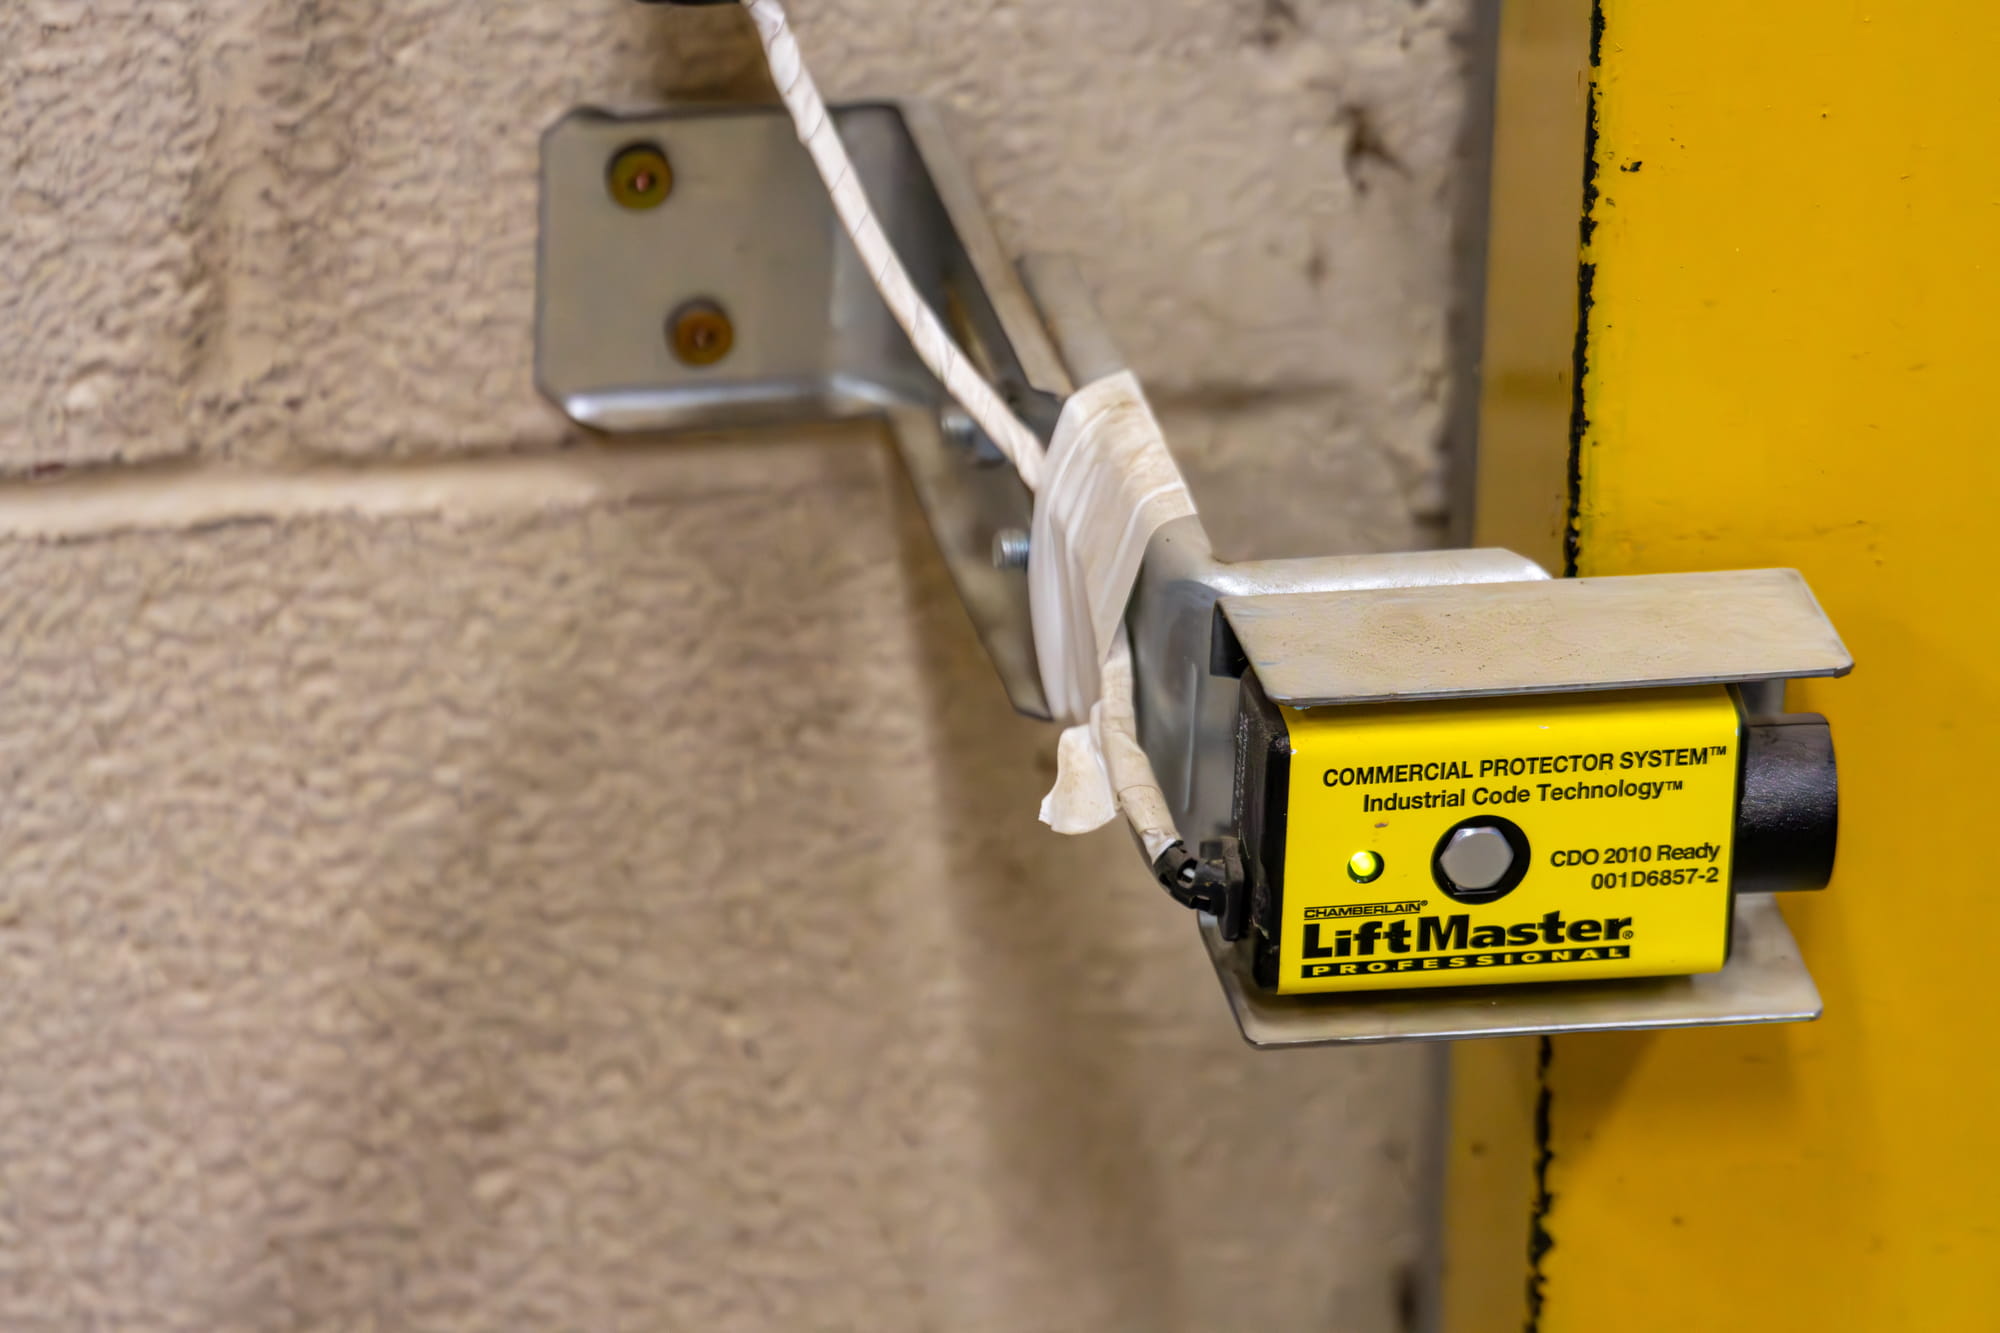
Garage door safety sensors are an important safety feature of a garage door that prevents it from closing when something interrupts the beam of light emitted by two sensors. All garage doors, especially Craftsman garage doors, which are actually manufactured by Chamberlain and LiftMaster, have two of these safety sensors. The color of each sensor light has a particular meaning:
A Yellow Light = Sending Sensor (Transmitter): This is usually the sending sensor, which transmits an infrared signal. The yellow light is solid when it is receiving power.
A Green Light = Receiving Sensor (Receiver): This light indicates that the receiving sensor is receiving the signal. If this light is green, it is working correctly.
Common Causes of a Yellow Sensor Light
1. Misalignment Between Sensors
When the sensors are not aligned in a perfect position, the receiving unit cannot pick up the beam, hence the door cannot close. The sending sensor, with its yellow light, appears to function. If the green light of the receiving sensor is not on, blinking, or not lit at all, misalignment of the sensor is most probably the cause.
2. Dirty or Obstructed Lens
Dirt, spider webs, or dust accumulation on the lens of the sensor can prevent the infrared beam from reaching the receiving sensor. This situation usually keeps the yellow light steady as if the path is obstructed.
3. Wiring Issues
Loose or damaged wiring of the sensor can cause malfunction. In some Craftsman garage doors, wiring issues can cause error signals or put the sensor in a ‘yellow light’ mode only.
4. Sunlight or Signal Interference
The sensor receives direct sunlight, causing interference with its function. This situation can also cause the receiving sensor to not ‘see’ the beam sent by the sending sensor.
Step-by-Step Troubleshooting – Getting Your Garage Door Working Again
Here’s a step-by-step guide to troubleshoot the sensor light issue:
Step 1: Check for Obstructions
First, inspect the path between the two sensors before doing anything else.
- Check if there are objects in the path of the sensor beams.
- Remove toys, boxes, tools, debris, etc., that can interfere with the sensor’s beam path.
- Clean the sensor lenses if they are dirty with dust, spider webs, or dust accumulation.
Wipe the lenses with a soft cloth. At times, this action alone can solve the problem.
Step 2: Align the Sensors
- Loosen the screws holding the sensor bracket slightly on each side.
- Adjust the sending sensor (yellow) very slowly to ensure it’s straight at the receiving sensor.
- Repeat the same with the receiving unit until the green light comes on solid.
When both sensors are properly aligned and unobstructed, the green light on the receiver will shine steadily, with the yellow light simply indicating a powered transmitter – and your door will close normally.
Step 3: Inspect and Secure Wiring
- Disorganized or damaged wires can also contribute to sensor malfunction.
- Examine both wires of the sensor leading to the opener.
- Examine the wires at the logic board of the opener to ensure they’re securely connected.
If the wires appear frayed or damaged, they can be repaired to operate normally.
Step 4: Limit Interference
Interference from the sun or other sources of light can also cause the sensor to malfunction.
Try:
- Adjusting the sensor slightly.
- Adding a small shade or visor to prevent direct sunlight.
This can solve bizarre problems with the yellow or blinking lights.
When to Seek Professional Help
Most of the problems associated with the yellow light of the sensor can be solved by following the above steps. However, in the following situations, it would be best to call a technician:
- If the light does not turn off despite proper alignment and cleaning.
- If you suspect that the wiring inside the walls has been damaged.
- If the receiver does not light up with a green light.
- If you are not comfortable working with electrical components.
A technician can help you identify any problems in the electrical system or the logic board of your garage door opener and ensure that your system is completely safe to use.
Preventive Tips to Avoid Future Sensor Problems
To keep your sensors in the best condition and avoid future problems, you should:
- Clean your lenses once a month, as dust and dirt tend to accumulate quickly.
- Periodically check the alignment of your sensors to avoid any knocks that may misalign the sensors.
- Occasionally, check the wires to avoid any pinching.
- Avoid exposing your sensors to direct sunlight during the hottest part of the day.
A little bit of preventive maintenance can go a long way in making your garage doors function smoothly.
Conclusion
A Craftsman garage door opener’s yellow light of the sensor does not mean disaster is lurking around the corner. However, it does mean that your system is not yet safe to close the garage doors. Most of the problems associated with the yellow light of the sensor can be solved by cleaning and aligning the system properly. In case the problem persists, a professional garage door technician can help you keep your system in the best condition.